Issue
The Micro Focus Client for Open Enterprise Server 2 SP4 IR8/8a prompts with an Untrusted Publisher warning when installing in phase1 of the ENGL deployment process even after following TID-2016011.

This version of the client uses two different signing certificates. The build process auto configures one of these certificates and places it into the Trusted Publishers certificate store.
The prompt appears when the second certificate is not trusted.
This TID will detail the steps to resolve the issue.
Requirements
- ENGL Imaging Toolkit 10.x (or newer)
- Client for Open Enterprise Server 2 SP4 IR8/8a
Solution
Procedures
| Done | Task | ||
|---|---|---|---|
| |
| ||
| |
| ||
| |
| ||
| |
| ||
| |
|
1. Extract certificate file from netnvcli.cat.
- Right click on the appropriate client entry in the File Library
- Select Open folder in Windows Explorer
- The Novell/Micro Focus client folder will open in Windows Explorer
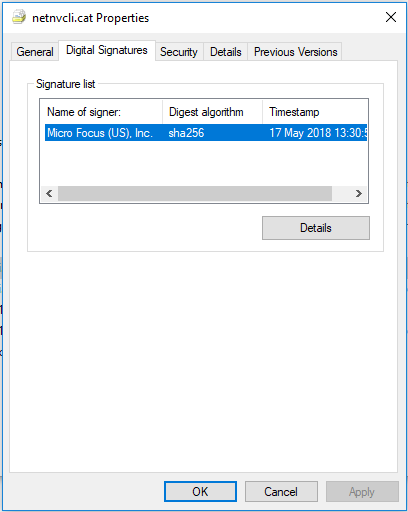
- Right click on the netnvcli.cat file then select Properties
- Select the Digital Signatures Tab
- Select the "Micro Focus (US). Inc." entry in the Signature list then click on the Details button
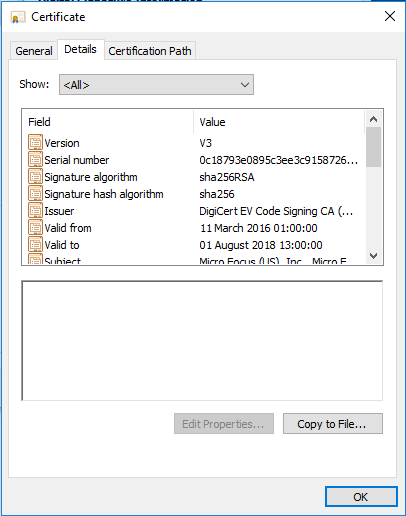
The Digital Signature Details dialog will open - Select View Certificate

The certificate details will then be displayed - Select the Details tab then select Copy to File...
- The Certificate Export Wizard will load. Click Next
- Accept the default Export File Format (DER encoded binary X.509 (.CER) then click Next
- When prompted save the file as MF-Alt.cer in the root of the client folder opened in step 2 then click Next
- Click Finish to complete the export
- The file will now be listed in the Client folder structure


2. Create phase script to install certificate
- Open Notepad
- Paste in the following text:
$Utils = new-object -comobject "ENGL.Ztoolkit.Utils" # Append a string to the Ztoolkit log file $Status = $Utils.AppendLog("Checking if MF-ALT.cer file exists") $path = "c:\ztoolkit\novcli\MF-Alt.cer" if([System.IO.File]::Exists($path)){ $Status = $Utils.AppendLog("MF-ALT.cer file exists so we will import it into the TrustedPublisher certificate store") # So we want to import the MF-Alt.cer file into the trusted publisher certificate store. certutil -addstore TrustedPublisher $path } - Save the file as phase1-before.ps1
- Open Buildconsole
- Open the Windows 7 project
- Select the Expert View Tab
- Select Customisation -> Custom Files
- Right-click in the Custom Files Properties view then select Add
- Select the phase1-before.ps1 file created earlier. then click Open. The file will be imported into the Custom Files Properties view
3. Recreate build process images.
Open the project you wish to update and complete the following steps:
- In the global toolbar, click
 to launch the Deployment Wizard
- At the Welcome page, click Next
- At the Task Selection page, select Build process creation then click Next
- At the Image Selection page, select the following images then click Next.
- Novell Components (novcomp.zmg)
- Build process (ztoolkit.zmg)
- Click Next
- Once the Deployment Wizard has completed, leave the default options selected and then click Finish
- Once Windows Explorer has opened the images folder:
- Copy the image files directory structure to the content-repo/images folder on the ZENworks server.
4. Test
Run a test build to confirm everything is now working and that the Micro Focus client is being installed successfully during the build process.